
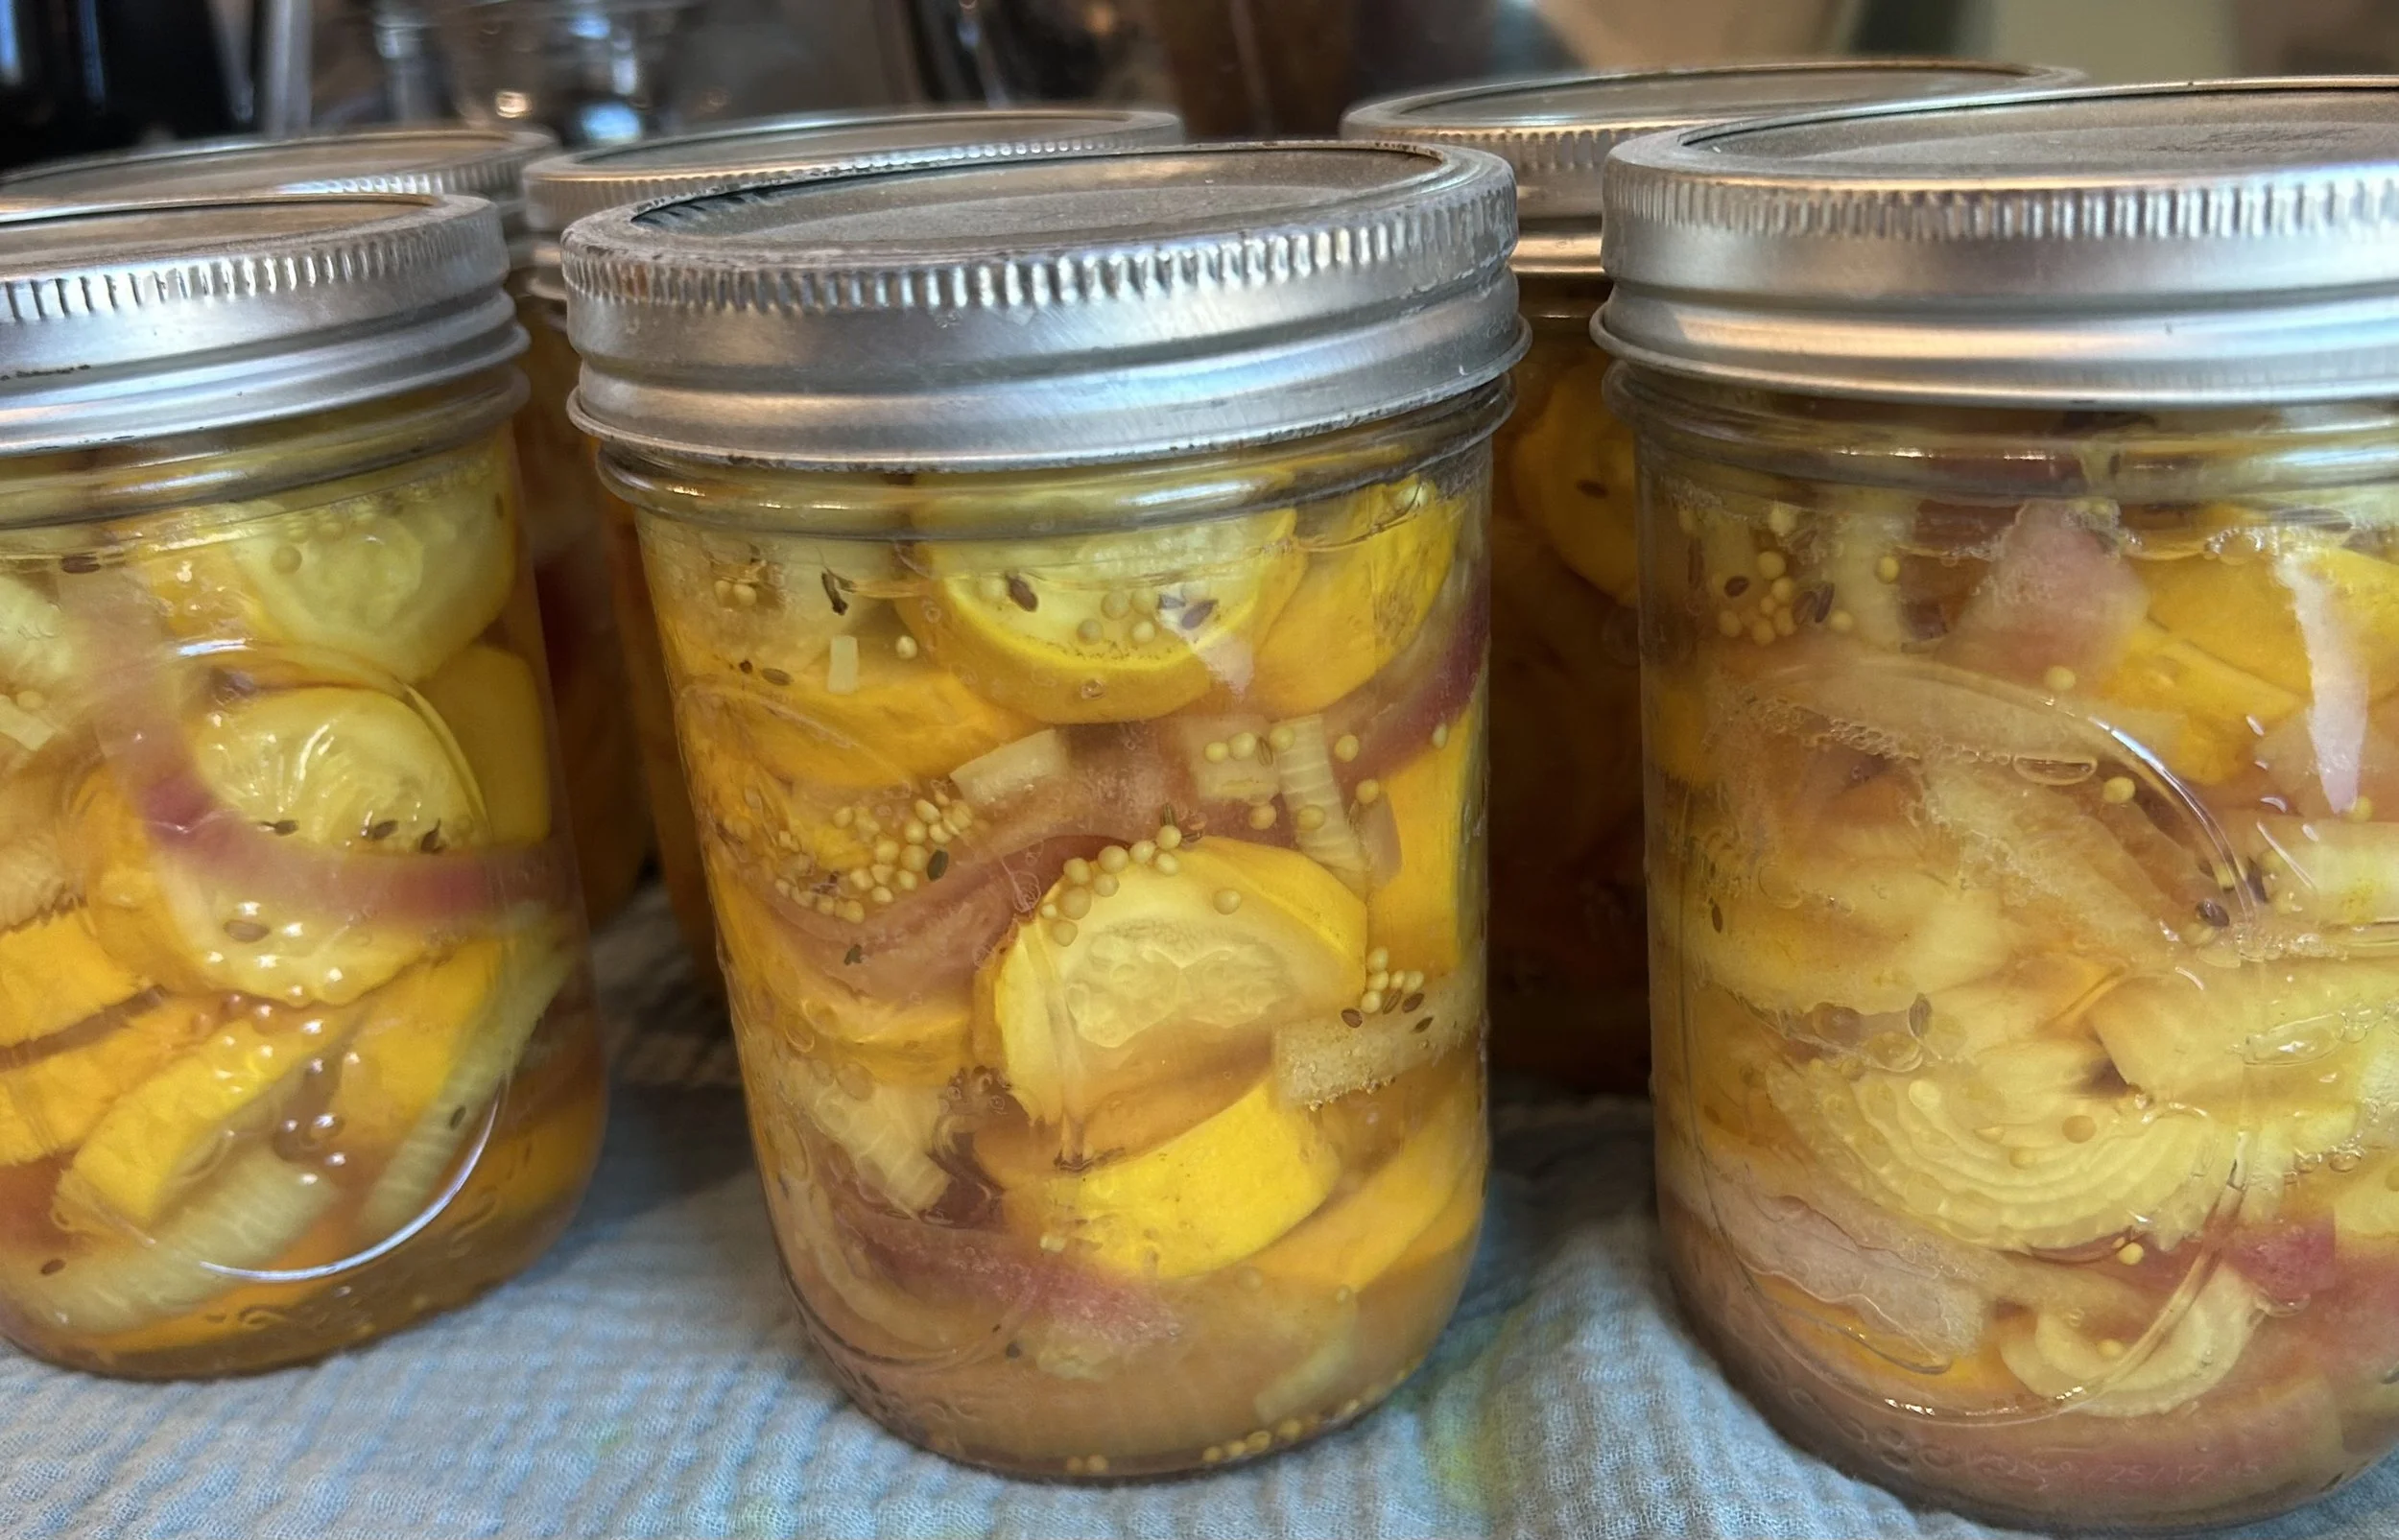
Sweet Pickled Squash
Sweetened with only honey!
Prep Time: 3 hours (or overnight)
Waterbath Time: 30 minutes (depends on elevation)
Total Time: 4 hours
Makes: 6 pints
About the recipe:
This is like bread and butter pickles but with squash!
I only use honey, no other sweeteners!
I also do not use any pickling crisp, I use an ice bath to keep some texture.
I have done this recipe with cucumbers, zucchini, and summer squash, it’s all great!
I also have added onions, banana peppers, and regular peppers.
The ice bath!

The brine!
What you need to know about canning…
Follow any of the links to view a list of all of the foods or kitchen items that I recommend. It will provide an Amazon link to purchase if you wish.
As an Amazon associate I earn from qualifying purchases.Equipment:
Medium bowl, sharp knife, cutting board
Canning pot, lid, and basket
Jar lifter and tongs
Headspace tool
6 wide mouth pint jars (my favorite)
Lids and bands
Funnel
Butter knife
Two towels (one to wipe the jars clean and one to place the hot jars on)
Oven mitts
Ingredients:
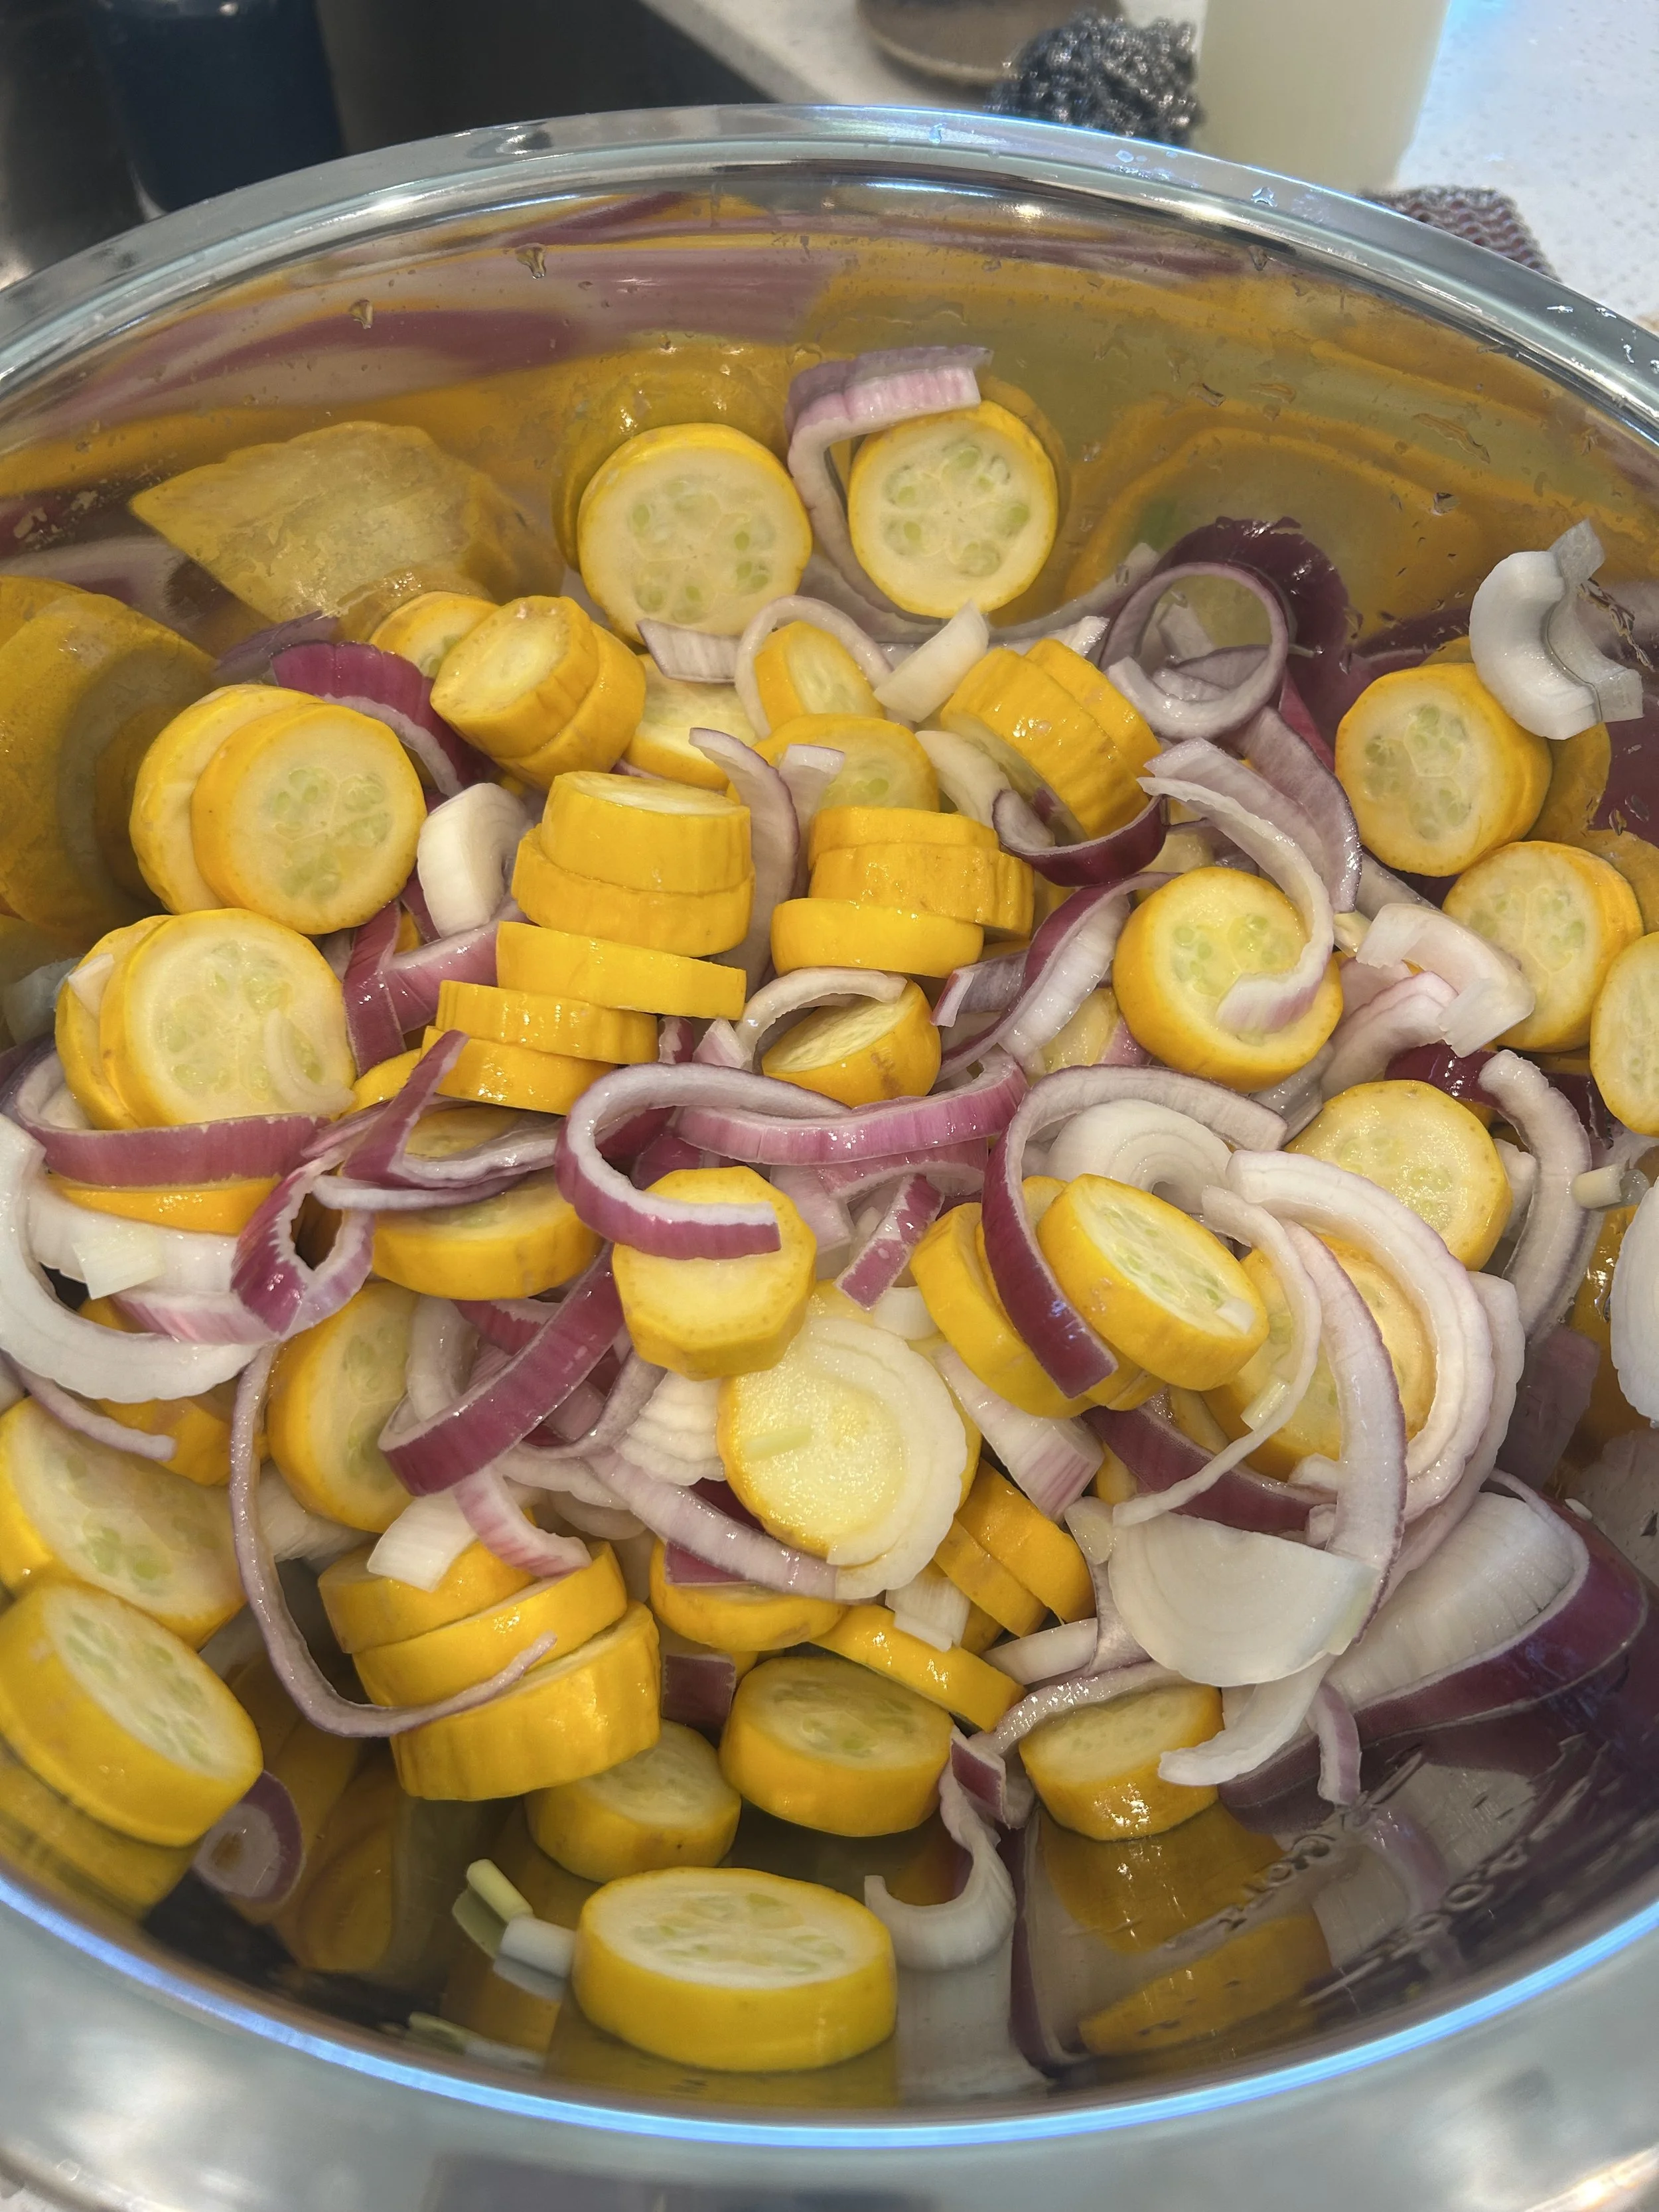
4# summer squash
2 medium onions
1/3 C pickling salt
2 trays of ice cubes
2 C white vinegar
1 C honey
1 tsp mustard seed
½ tsp dill seed
¼ tsp turmeric powder
Steps:
Cut the summer squash into slices
(or however you prefer)
Cut the onions into long medium slices
(or however you prefer)
Place the squash and onions into a medium bowl and cover with pickling salt, ice, and cold water
Let sit for at least 3 hours (this firms the cell walls of the veggies and removes excess water, helping create a crispy final product)
You can soak them overnight if this is easier
When ready to can everything, remove the veggies from the fridge and strain them. Don’t rinse them, you want the salt to stay on the veggies. Leave on the counter to warm up a bit.
While your veggies are chilling, you can wash your jars, lids, rings, canning pot, and accessories.
Its important to make sure everything is very clean!
Put your pint jars into your canning basket, in your canning pot.
Fill the jars with water first and then fill the pot up until the tops of the glasses are just covered.
Turn on the burner to medium/high and let them get hot. This allows a layer of sterilization as well as getting the glasses warm and ready for your product!
DO NOT LET IT COME TO A BOIL-just hot.
While you’re letting your jars get hot, mix your brine.
Mix the white vinegar, honey, mustard seed, dill see, and turmeric together in a medium saucepan and warm. Don’t bring it to a boil but let it get hot.
Remove your pint jars with the canning tongs a few at a time.
Pack the jars with the squash/onion mixture tightly.
Using your funnel, pour your brine over the veggies and then use a butterknife to pull around the edges removing any air pockets or bubbles.
Leave ½ in. headspace from any product/liquid to the top of the jar! SUPER IMPORTANT. If you don’t leave enough room for liquid to expand while in the water bath you don’t get a good seal and the product will spoil or need to be refrigerated.
Wipe the top of the jar with a clean towel, place a clean dry lid on top and screw the canning ring with just your hand (you don’t want it too tight, just hand tight).
Place these finished jars back in the canner with the jar lifter and remove the rest of the empty jars and repeat the same steps for filling and covering.
I like to do them in batches of 2-3 jars at a time so I can keep the jars and product roughly the same temperate while canning. If anything drastically changes temperature it’s at risk of breaking!
Once all of your jars are filled, de-bubbled, wiped, covered, closed with a ring, and placed back in the water bath basket in the pot… cover the pot and bring everything to a boil.
I start off with the water about ½ in over the lids and if it boils down to just below the rings that’s ok!
You want to boil the product for 20 minutes at sea level. If you are above sea level you need to check the chart below! I live in Southern Utah now and I need to waterbath them for 30 minutes to account for elevation.
Once your appropriate time is up, slide the canning pot onto a cool burner and let sit covered for 5 minutes.
After 5 minutes, remove the lid.
After 5 more minutes lift the basket out of the canner.
Now you can remove the jars out of the canner with the jar lifter and place ON TO A TOWEL on the counter.
This is important because the glass can shatter if a drastic temperature change occurs. Always place on a towel, not a counter.
Ensure all of the lids are hand tight again, they usually come loose when boiling.
DO NOT PULL UP ON THE LIDS
Leave them undisturbed for 12 hours.
After 12 hours, wipe the outside of the jars and make sure they are clean, remove the rings, and check the seals with just your hands giving a little tug on each. If none of them can be removed easily, they are likely sealed and good for long term storage on a shelf.
Do not store them with the rings as this can give a false seal and you won’t notice if they come unsealed.
Check them every so often in your pantry to make sure they are still sealed.
Enjoy for years!
Please note, there are many controversies over ways to can and I am not liable for any illness if canning is not done properly. I urge you to observe a canning demonstration locally by someone you trust, water many videos, read many canning books, etc.
This is just how I do it, and I wanted to share.