
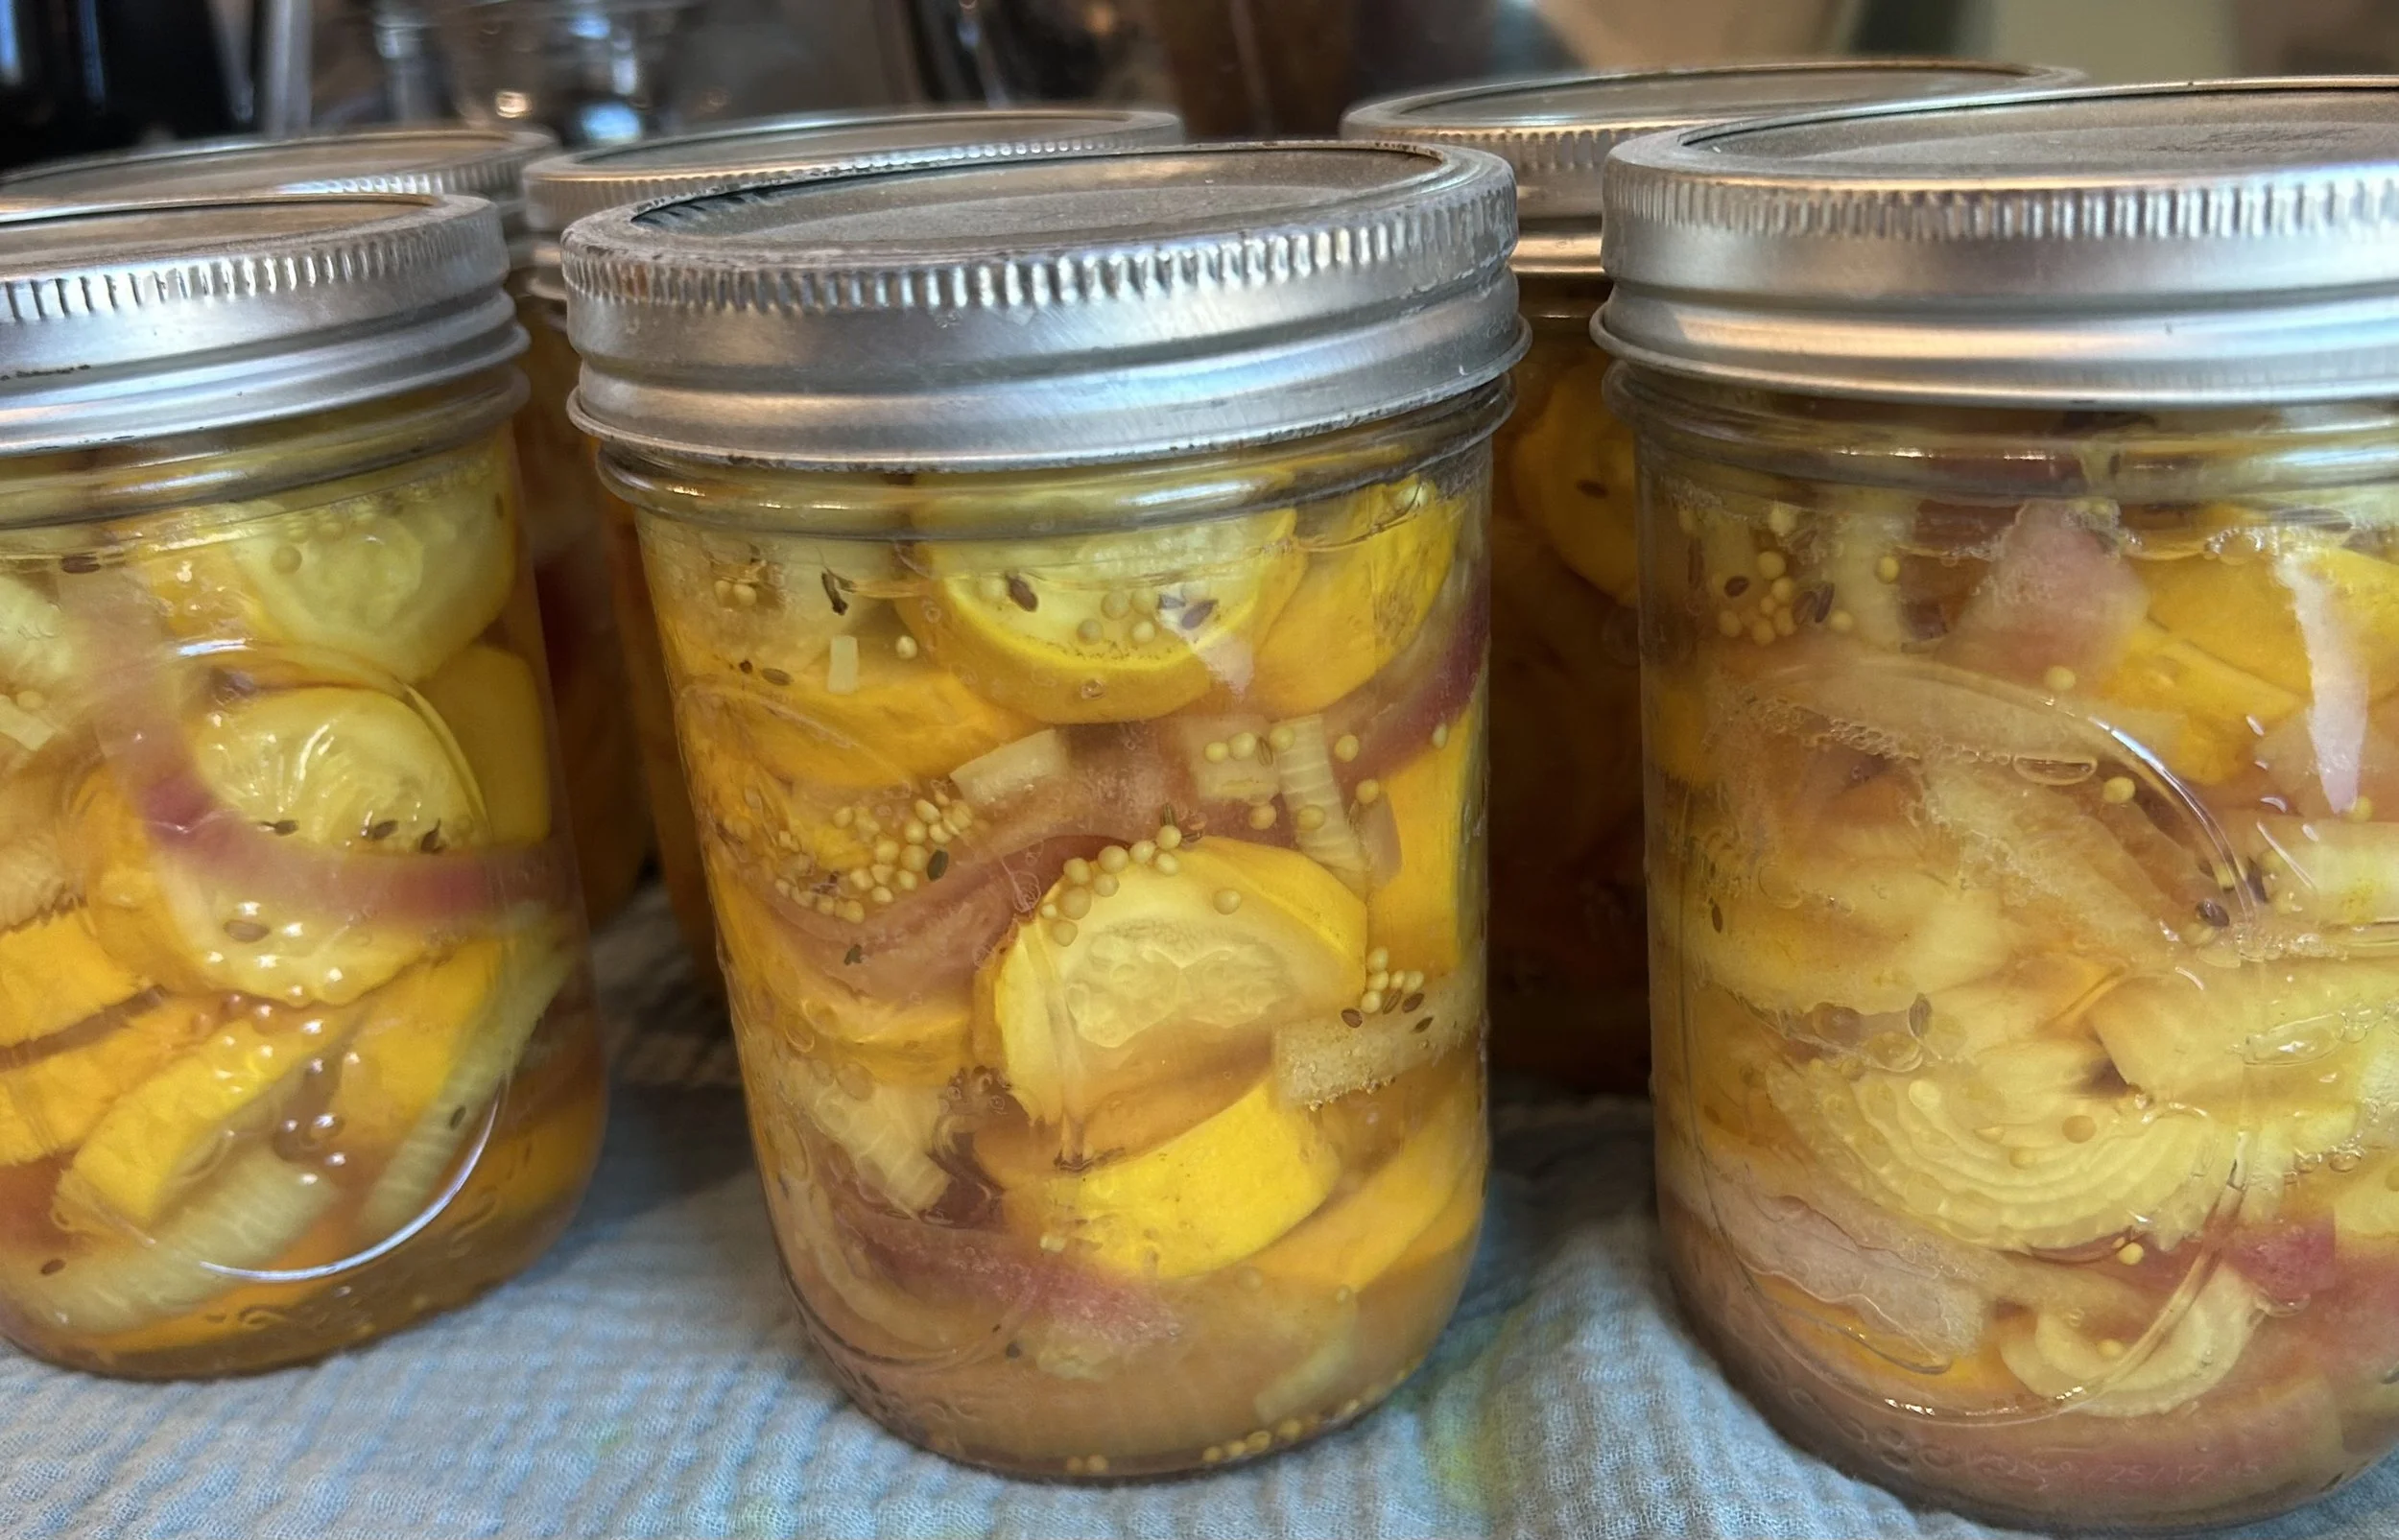
Sweet Pickled Squash
Sweetened with only honey!
Prep Time: 3 hours (or overnight)
Waterbath Time: 30 minutes (depends on elevation)
Total Time: 4 hours
Makes: 6 pints
About the recipe:
This is like bread and butter pickles but with squash!
I of course only use honey, no sugar!
I also do not use any pickling crisp, I use an ice bath to keep some texture.
I have done this recipe with cucumbers, zucchini, and summer squash, it’s all great!
I also have added onions, banana peppers, and regular peppers.
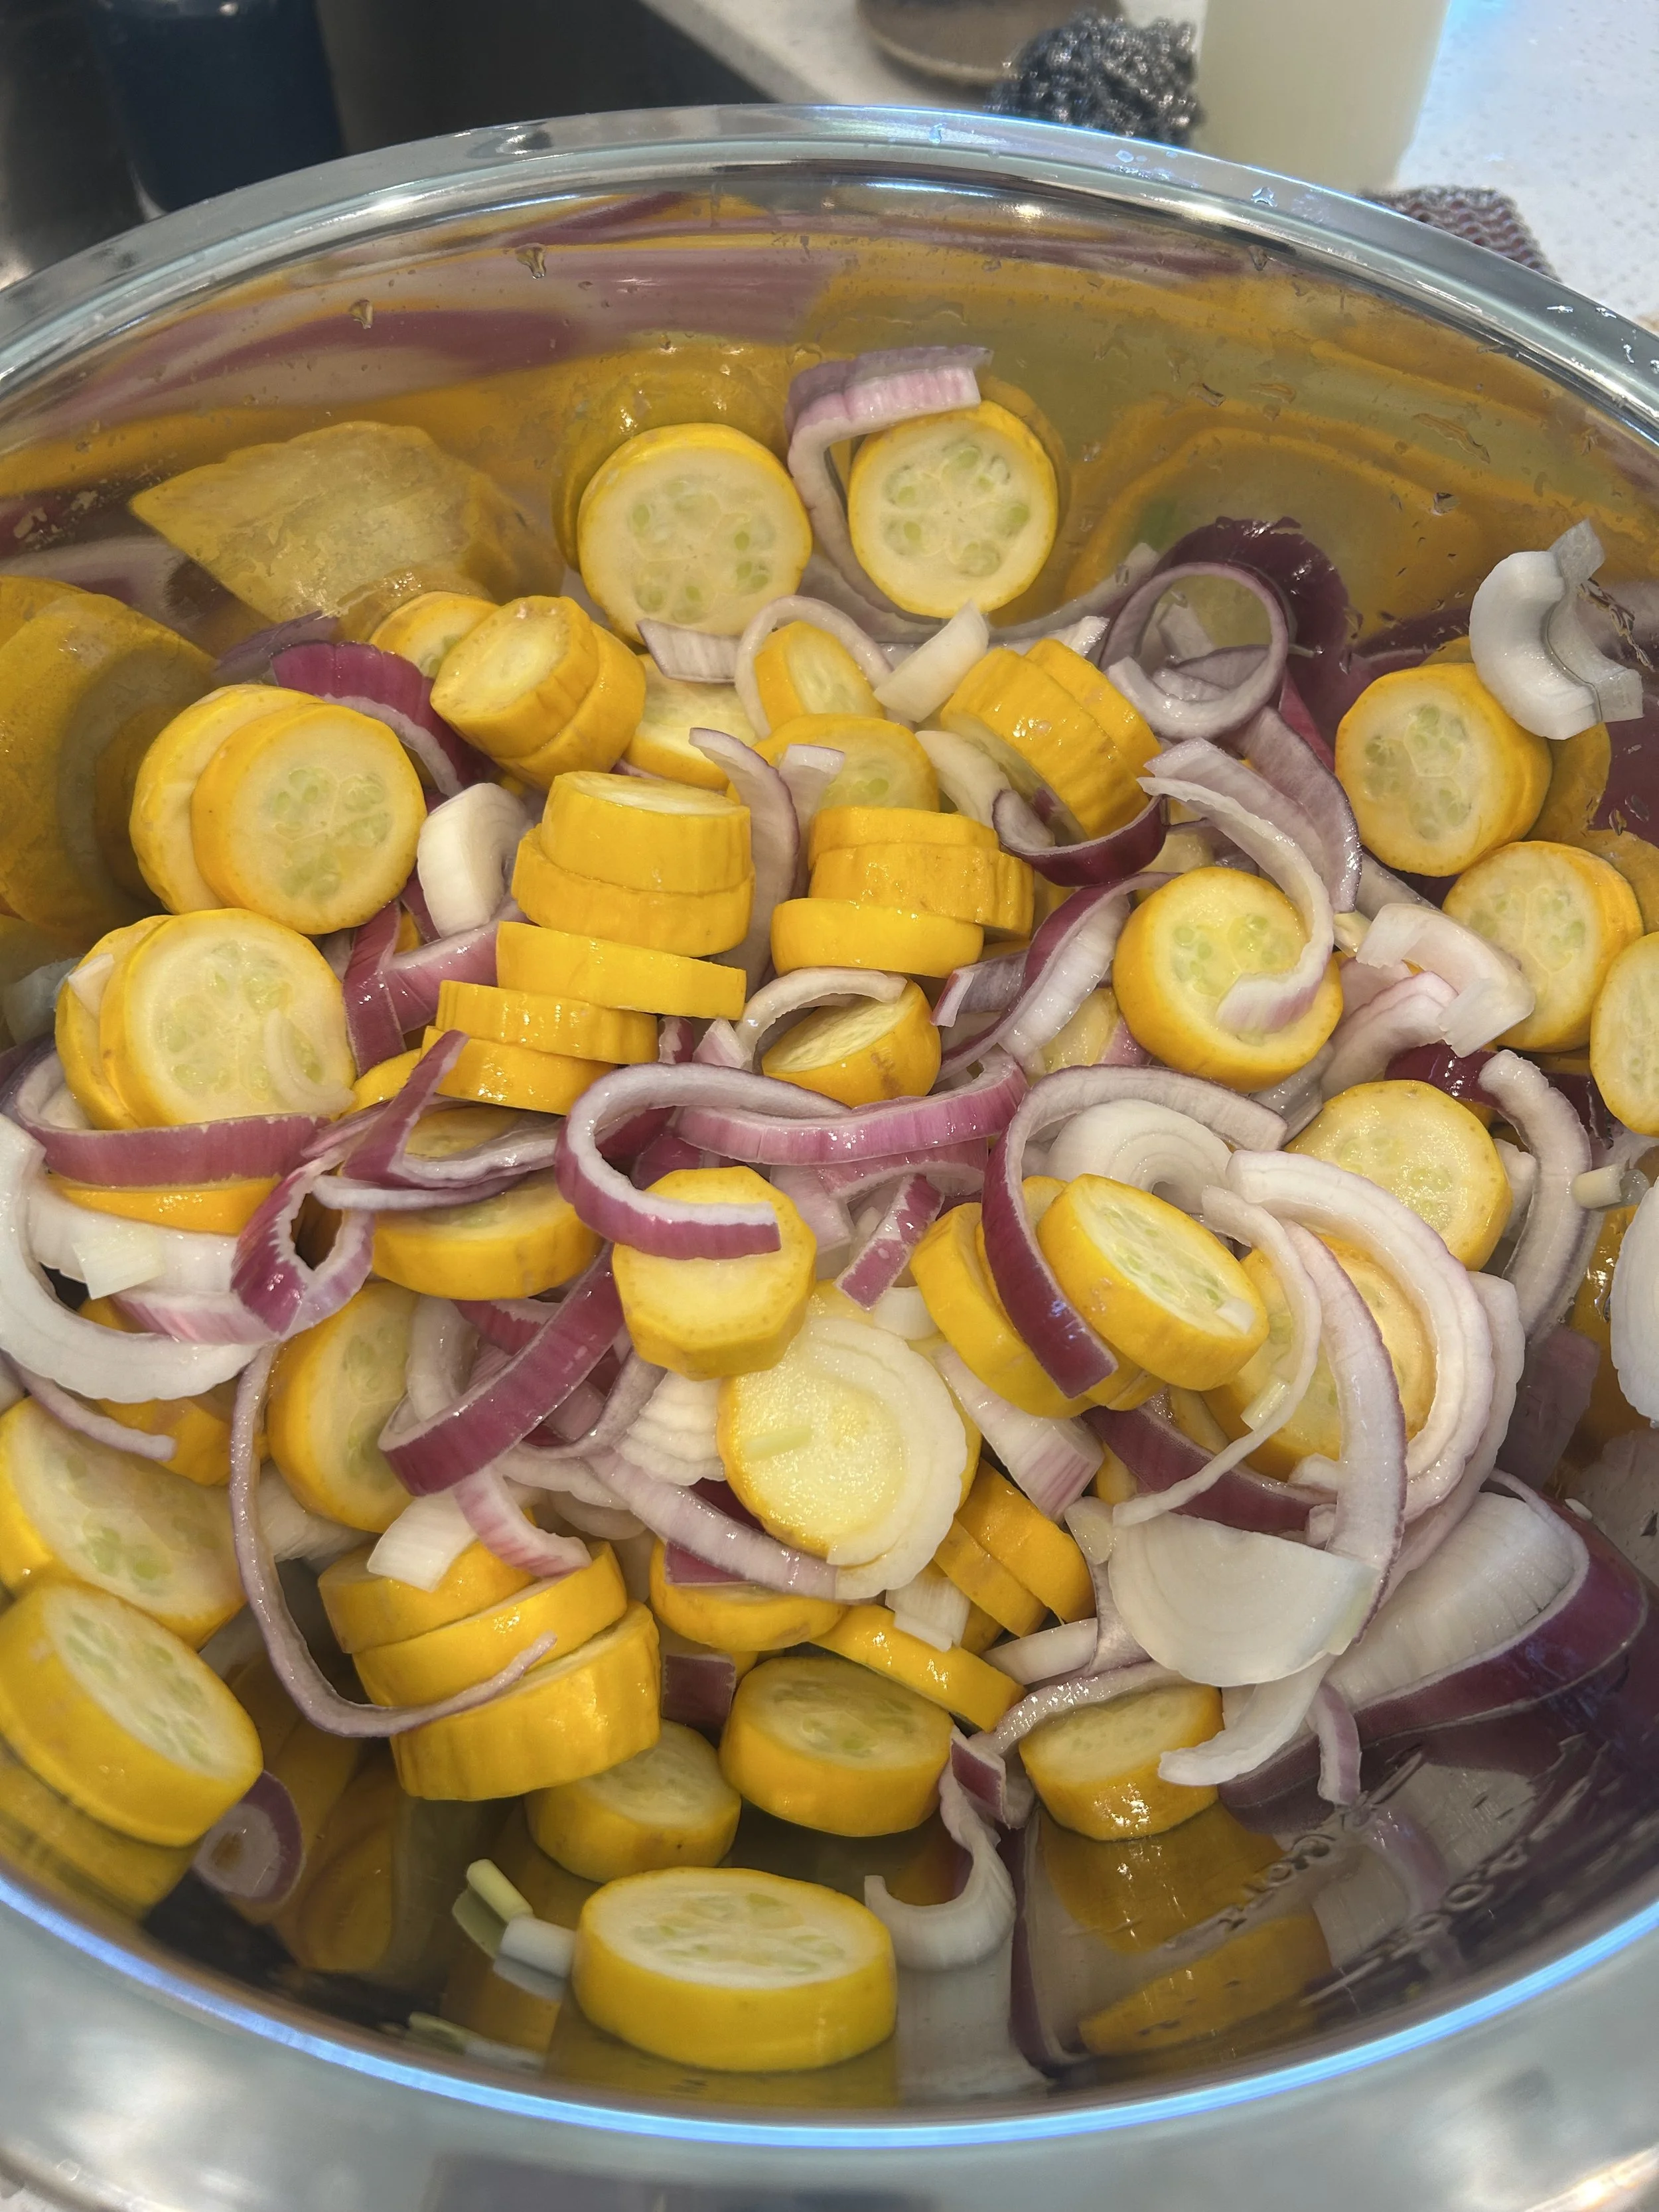
The ice bath!

The brine!
What you need to know about canning…
Follow any of the links to view a list of all of the foods or kitchen items that I recommend. It will provide an Amazon link to purchase if you wish.
As an Amazon associate I earn from qualifying purchases.Equipment:
that will fit on top of the pot (double boiler method)
Metal or glass carafe (or something with a pour spout)
Spoon
Cotton pliers (not necessary but they help)!
12 (9oz) candle jars (or desired candle container)
Ingredients:
80 oz. tallow
8 oz. beeswax
900 drops of essential oil
360 pine
180 cinnamon
180 peppermint
90 clove
90 orange
Pine shavings
(optional to decorate the top, as shown in the picture)
Steps:
Fill your medium pot with about 2 inches of water.
Place your medium bowl on top of the pot (it should be small enough to sit on top of the pot snuggly but not small enough that it sits completely INSIDE the pot, see picture above or look up “double boiler method”.
Place your measured tallow and beeswax inside the bowl.
Turn the burner on high, bringing the water in the pot below to a boil.
Your tallow and beeswax will slowly start to melt (the beeswax will take longer than the tallow)
While you are waiting for your product to melt, you can start prepping your candle jars.
Always wash and dry your candle jars.
Plug in your hot glue gun.
Measure each wick.
I simply unravel my wick spool, place the wick at the bottom of my candle jar and cut about 1 inch above the jar. This gives you PLENTY of wick to trim after.
Cut 12 wicks at the same length if using the same size jars.
In my picture I cut several inches above the jar and this is a waste! But it was my first time, ha-ha.
Using your hot glue gun, place a small amount of glue at the bottom of your wick tab (holder) where the hole is. Place your pre-cut wick inside until it reaches the glue and move it up and down slightly so the wick is now glued inside the tab.
Now add a bigger glob of glue to the bottom of the wick tab and place the wick tab (with the wick) in the center bottom of your candle jar. I like using the cotton pliers for this step!
If you are using a fairly wide jar, I recommend using 2-3 wicks evenly distributed so that the candle burns evenly (see pic above).
Anything bigger than 4 in. diameter will have a hard time burning with 1 wick in the center.
Repeat steps 10+11 for all of your candle jars.
Please note, you can use melted wax instead of the hot glue gun, I just find that the glue gun is much more secure!
Take a clothes pin and clip the top of each wick tightly, allowing the clothes pin to lay across the top of your candle jar. This holds the wick in place so when you pour the wax mixture, it doesn’t move or fall (see pic above).
Once your tallow and beeswax is completely melted, remove the bowl from the pot and allow to cool to 165°F.
Once the wax mixture is around 165°F, you can add your essential oils.
Adding too soon can cause the scents to “burn off”, making the candle not smell as strong.
Now you may want to transfer your final product into a glass or stainless steel carafe to more easily pour your wax mixture into each candle jar. If you feel confident that you can slowly and accurately pour your wax mixture from the bowl then you can skip this step.
Slowly pour your wax mixture into each candle jar, leaving about 1/2-1 inch space at the top, avoiding hitting the top of the wick.
Pay attention to the type of lid you have. Some lids suction on the inside and you may need to leave more space to secure the lids after the candle is hardened.
If your wick falls or moves, its ok, simply move it back to the center, applying tight pressure so its standing as straight up as possible, the clothes pin should still be holding it up so it remains in an ideal position until fully cooled. You can move the wicks around as long as the wax is still liquid.
If you would like to add decorative toppings to the candle such as the pine shown in my picture or glitter, wait until the candle has formed a thin layer on top. This is when the wax is slightly firm but still sticky.
If you add it from the very beginning when everything is still liquid, it will cause cracks in the final product.
Allow the candles to harden for 24 hours before burning.
Please come up with any scent combinations that make you excited! I have been tempted to scale back the peppermint in the recipe and use more pine because my husband and I LOVE pine smell, but everyone loved this candle last year so much I kept the recipe exactly the same for you!